How to install WordPress
WordPress allows you to run complex sites for multinational companies, small business companies and create personal blogs. If you’re searching for a complete tutorial on how to install WordPress on your local computer, here is the step by step process on how to install WordPress on your computer manually.
How to install WordPress on your computer
WordPress allows to enable over 30 percent of the internet users to design and self-host their own websites. Basically, there are two ways to install wordpress on your computer. In this article we’ll provide easy steps using which you can download and install wordpress.
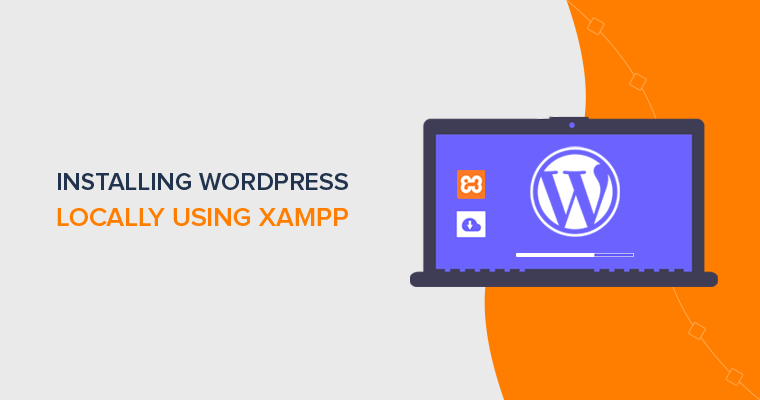
How to install WordPress on localhost
Here’s a brief description on how to install WordPress locally and setup a fully functional environment that enables you to build your first WordPress website or prepare a quick demo for your ftp client.
Before you download WordPress it is necessary to setup the proper environment that it requires to run in. And for that, it is important to install XAMPP in your computer. XAMPP can be downloaded from the Apache website. Here’s how you can install XAMPP in your computer;
How to install WordPress on XAMPP
Download and install XAMPP on your system. After you run it, you’ll see a setup wizard. And click next until you get to install process
Step 1. Once your download is finished, run it to install into your local system. Launch the control panel and set the status for Apache, and MySQL.
Step 2. After you have finished setting up, download WordPress setup from the official website. And while you’re doing that make sure that Apache and MySQL services in the XAMPP control panel are running.
How to install WordPress on windows 10
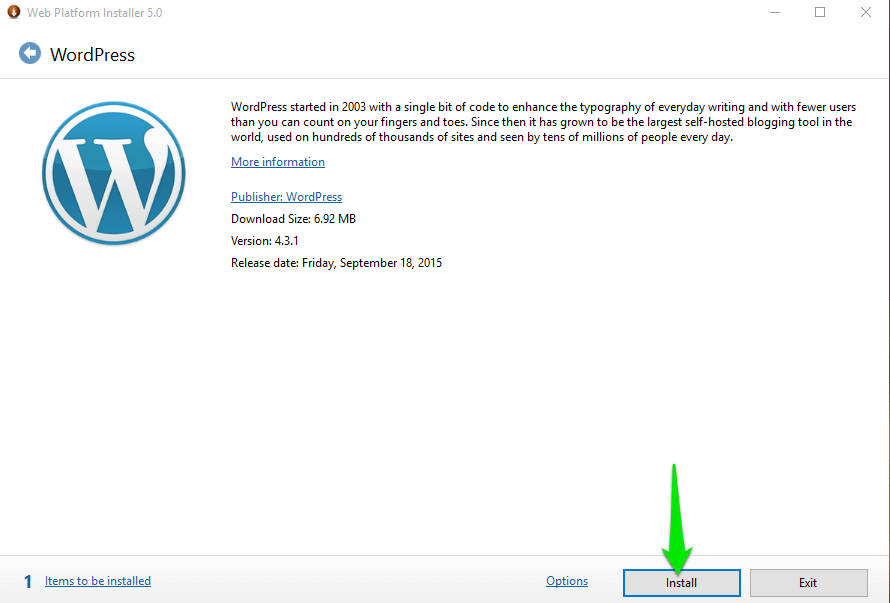
Step 1. Download WordPress package for windows in any of your search engines. And then, click on the Install WordPress button that appears.
Step 2. Start the installation process by twice clicking on the package you’ve downloaded. Also, you have to allow this app to make changes in your PC. And, click install on the window that appears.
Step 3. Enter your database name, username and password, confirm your new password and note it down somewhere.
Step 4. After the installation of dependencies is done (which happens automatically), put your unique phrase which helps to ensure the strength of your protection with authentication.
Step 5. Finish the WordPress installation on your browser. Select your desired language and press on continue.
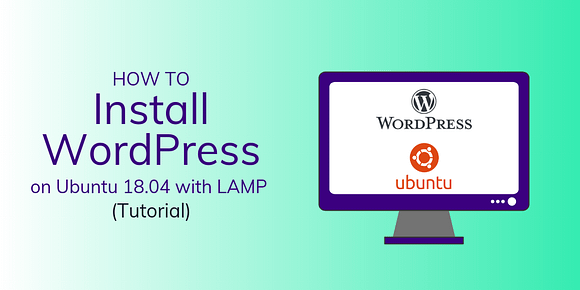
How to install WordPress on Ubuntu
Login as a root directory user and update the system to update the repositories.
Step 1. Install Apache.
Step 2. Install MySQL. Install the Maria database engine to hold the workplace files.
Step 3. Install PHP
Step 4. Create WordPress database. (Creating Database is important because it will show you how to install the WordPress website clearly, also to install WordPress button)
Step 5. Install WordPress CMS.
How to install WordPress on cPanel
However, it may take time depending upon the signal strength of your internet connection. WordPress is generally easy to use and for the newbies. The easy answer to the question ‘how to install WordPress manually’ is by simply following the above mentioned 5 steps.
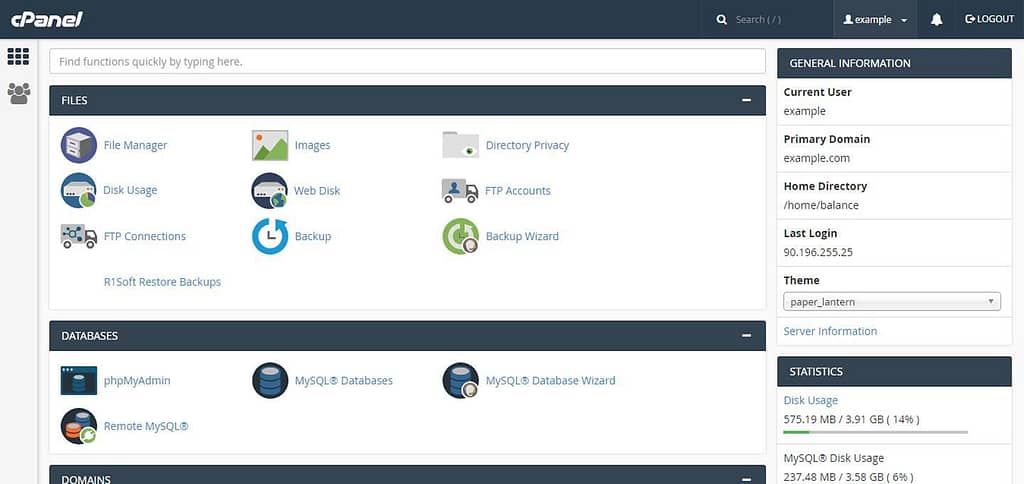
Basically cPanel allows its users to manage their website. cPanel manages email accounts, database connections and domain names.
So, in this article, we’ll also be exploring cpanel and how to install wordpress on cpanel.
cPanel is a web hosting control panel software. It provides a graphical interface and automation tools that simplifies the process of hosting a web server and site to the website owner or the “end user”. It basically is a popular control dashboard that helps you manage your web hosting server using a human friendly web based interface.
Download the latest version of WordPress
- First-of-all download the official version of WordPress from the WordPress website. Save the zip file to your desktop computer.
- Upload WordPress install script- go to your cPanel account and enter the credentials and login.
- Open the file manager tool. And decide the location of your WordPress site. Further after the contents of WordPress folders are uploaded, all the WordPress files and subfolders should reside in public_html.
- And then, the WordPress files should be extracted into a folder named WordPress. Lastly, all the necessary WordPress folder and the WordPress files should be listed in that folder.
However, before beginning the installation procedure, you’ll need the following;
- MySQL database,
- A MySQL database with proper user credentials,
- A database host,
- A unique phrase and a salt key.
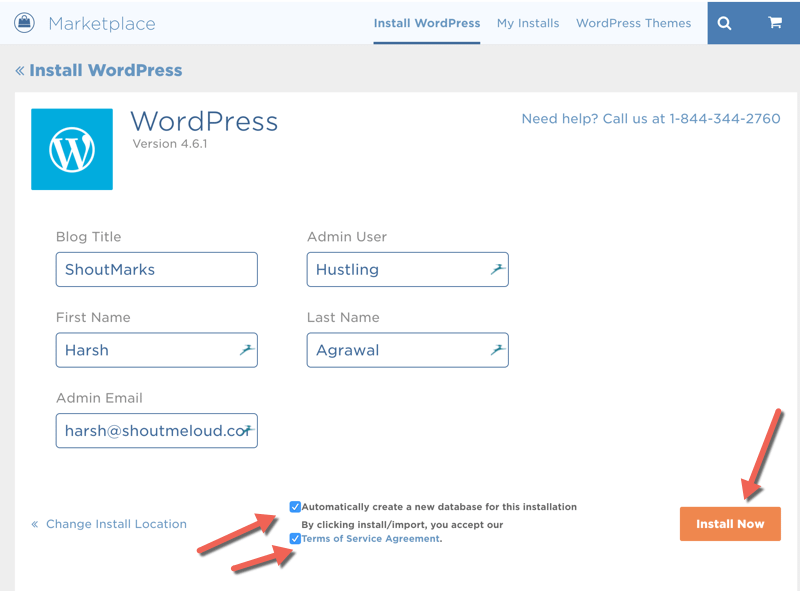
Finally, to finish the installation, run the install script by browsing to your WP’s directory. And, in each case, WordPress will prompt you to enter the details and write them in a new wp-config.php file. However, if this fails, you can go back and edit and upload the wp-config.php files yourself.
Complete the WordPress installation
Now enter your site title, your wordpress username and password and your email address. (But, make sure you won’t use the same username and password that you’ve used for your database user.)
How to install WordPress on HostGator
Installing WordPress with HostGator is super easy. Moreover, it is not difficult or time consuming. What’s more impressive is that, HostGator has impressive uptime, features and support.
The 7 main steps to install WordPress with HostGator are:
- Go to hostgator website and have a look at the WordPress hosting page.
- Select your plan that you want to buy by comparing the features that you require.
- Simply type the domain name that you want. However, there is a chance that the domain that you want may not be available. In that case, search for the perfect alternatives.
- Confirm the details of your hosting package and choose your plan and how many sites you are hosting on the left hand side. And then, look for an email from HostGator providing you with your cPanel login details.
- Click the latest version of WordPress and Install WordPress by logging into your customer portal. Click get started on the page that opens and HostGator will install WordPress for you. Copy your new login details to log in to your new WordPress account.
- Connect your domain name by following the steps that shows up when you click ‘show me how’ option on the connect domain.
- Choose and install the WordPress theme, add content to your WordPress site. Finally, install plugins to add functionality.
Lastly, as a beginner, using the auto installer that your host may provide, makes it helpful and easy. Or better yet, choosing a host that comes with WordPress pre-installed. And, once you’ve successfully installed WordPress, you can then learn how to make a WordPress website. Basically, the summary on how to install WordPress in your computer can be highlighted and written as follows;
- Download the official and latest version of WordPress from wordpress.org
- And, Unzip the file and upload it to public_html or a similar directory
- Then, Create MySQL database and user
- Configure the wp-config.php file
- Finally, run the WordPress install.


